Install Kali Linux On Virtual Box
Now that we have successfully installed the Virtual Box, let’s move on to the next step and install Kali Linux.
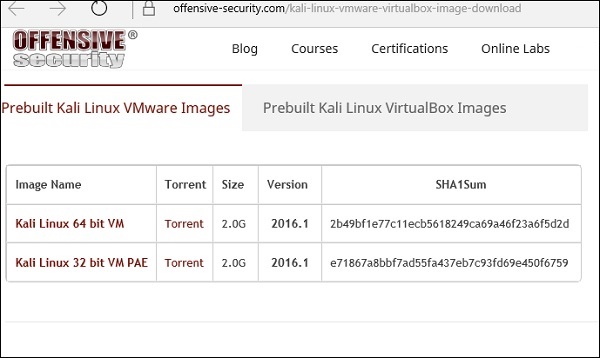
Step 1 − Download the Kali Linux package from its official website: https://www.kali.org/downloads/
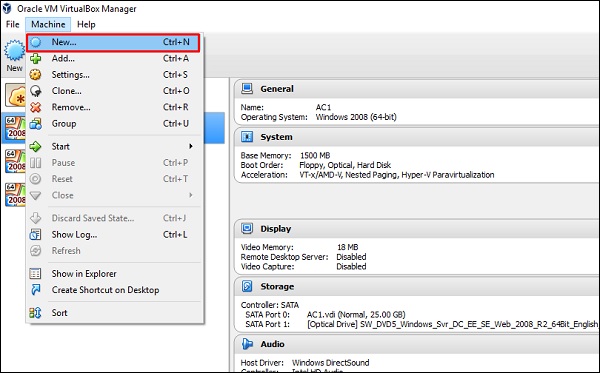
Step 2 − Click VirtualBox → New as shown in the following screenshot.
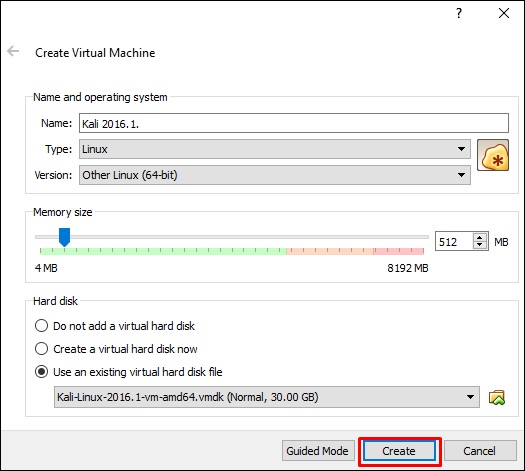
Step 3 − Choose the right virtual hard disk file and click Open.

Step 4 − The following screenshot pops up. Click the Create button.
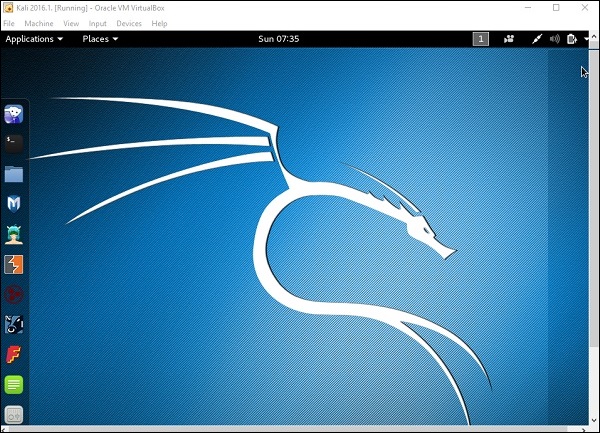
Step 5 − Start Kali OS. The default username is root and the password is toor.
Update Kali
It is important to keep updating Kali Linux and its tools to the new versions, to remain functional. Following are the steps to update Kali.
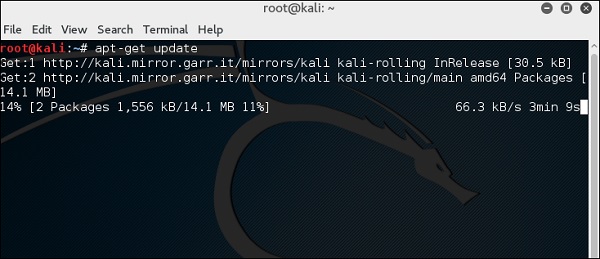
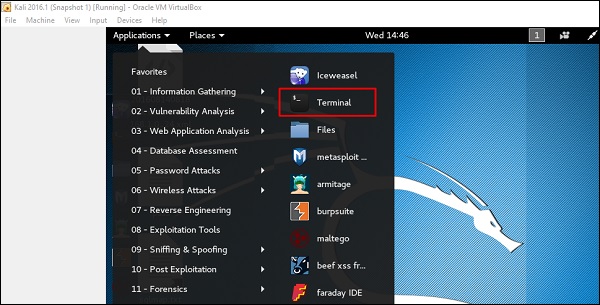
Step 1 − Go to Application → Terminal. Then, type “apt-get update” and the update will take place as shown in the following screenshot.
Step 2 − Now to upgrade the tools, type “apt-get upgrade” and the new packages will be downloaded.
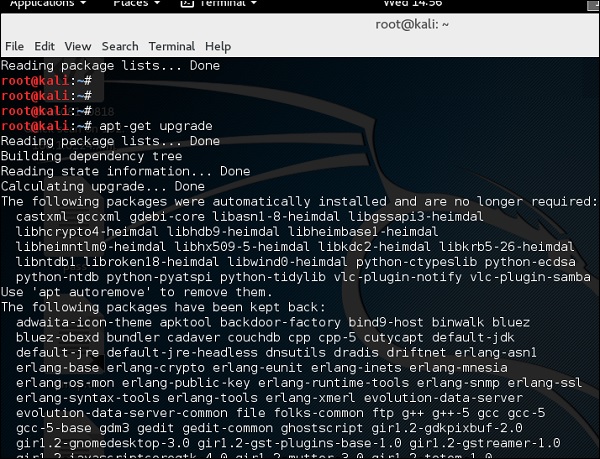
Step 3 − It will ask if you want to continue. Type “Y” and “Enter”.

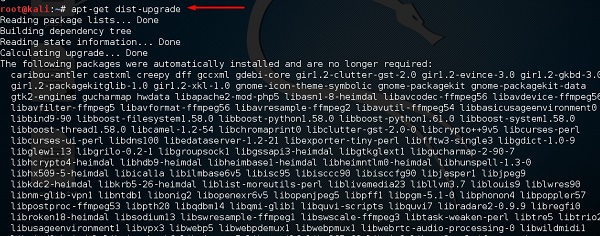
Step 4 − To upgrade to a newer version of Operating System, type “apt-get distupgrade”.
Visit My Website: https://blazecorporation.in/

Comments
Post a Comment